The sight of mold growing in your house is alarming for any homeowner. The initial worry relates
to the ill-effects of mold on one’s health, while wondering if the fungus has spread to other parts
of your home.
Whether mold presents itself in plain sight or hides beneath your kitchen sink, it can still affect
the health of household members and hence, must be removed in a safe and proper manner.
With that said, one of the major misconceptions about removing mold is that it requires the use
of chemicals to clean up effectively. While it’s true that you can get rid of mold growth by using
chemical-based products on the market, you should also know that non-toxic cleaners can get
the job done thoroughly, minus the dangerous side-effects.
There are several benefits to using natural cleaning products to remove mold; however, the
most important one lies in the fact that you are not exposing your home and family to the
dangers of toxic fumes, nor the environment. Moreover, green cleaning solutions are just as
effective as chemicals in removing and sanitizing mold-stricken areas. So, without wasting any
time, let’s take a look at three tried and true methods to clean mold from your home with the use
of non-toxic cleaners.
NOTE: When dealing with mold, it’s advisable to wear a surgical mask to avoid breathing in any
fine particles that become airborne. The use of gloves is optional if you prefer not to touch the
fungus by accident.
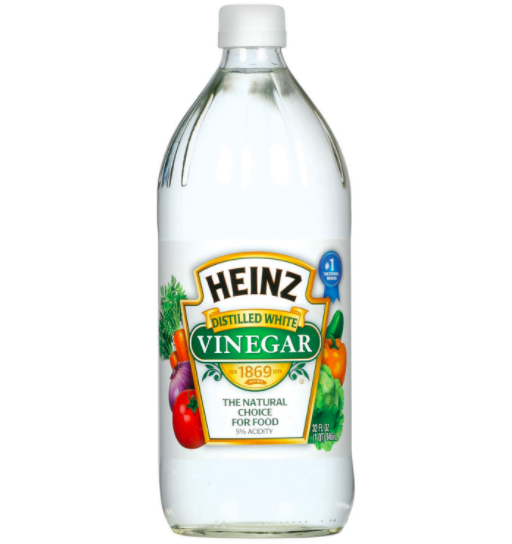
White Distilled Vinegar
Not only is white distilled vinegar an inexpensive ingredient, but it also has antibacterial
properties which make it an economical and effective green cleaner for removing mold.
Particularly in bathrooms or around the kitchen, the added benefit of using vinegar is that it
serves as a natural disinfectant in an environment where germs and bacteria thrive. For the
purpose of cleaning up mold, however, white distilled vinegar is generally advised for mild
growth or small, affected areas. For more severe cases of mold growth or larger affected areas,
skip to ‘hydrogen peroxide’. Read on for directions on how to clean mold with vinegar.
1. Fill up a spray can with white distilled vinegar.
2. Spray over the mold to dampen it (avoid soaking the area).
3. Take a clean cloth and carefully wipe up the mold.
4. Avoid wiping passed the affected areas as you may end up spreading or smearing the
black spores around.
5. Rinse and wring the cloth after every wipe (the dampness will aid in cleaning) or simply
use a fresh cloth altogether.
6. Once the mold has been removed, re-spray the area with vinegar and water (equal
parts).
7. Finish off by blotting the area with a dry cloth to soak up moisture.
TIP: As a preventative measure, spray vinegar over areas prone to mold growth every alternate
week (eg. underneath sinks).
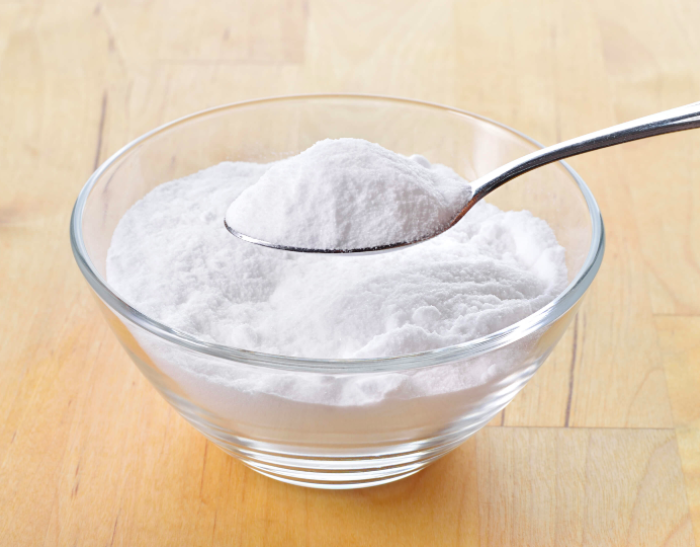
Baking Soda
In home cleaning, baking soda is often used as a substitute for bleach and ammonia. It also
serves as a natural deodorizer and stain remover for carpets and clothing. For mold, however,
baking soda will help clean and sanitize the area while removing any discoloration caused by
the black spores. Follow the steps below to clean mold effectively using baking soda.
1. Mix baking soda with water to form a thick paste (a toothpaste-like consistency is what
you’re looking for).
2. Apply a thin layer of paste over the moldy area with a sponge; use a small amount of
paste at a time (for walls or upright areas) so that most of it does not fall off as you apply
it.
3. Allow the paste to dry completely (some of it may peel and fall off on its own). Clean up
any leftover mold and baking soda residue by wiping the area with a clean, damp cloth.
For mold stains, dip a soft, damp cloth into the paste and gently scrub using circular
motions. Re-wipe the area with a clean cloth
4. In a spray bottle, mix equal parts of water and baking soda; shake the bottle well and
spray the area to cleanse and deodorize it further.
5. Finish off by blotting with a dry towel to soak up moisture and leave the rest to air dry.
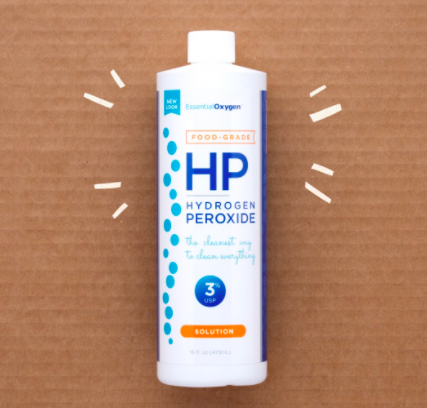
Hydrogen Peroxide
For more severe cases of mold growth, hydrogen peroxide is your safest bet in killing and
eliminating the fungus. It is also a safe, non-toxic alternative to harsh, chemical cleaners. Before
you use a cleaning solution that contains hydrogen peroxide, however, it’s advisable to spot test
it on an inconspicuous area for any damage (in the form of excess bleaching). If the test results
in any damage, decrease the strength of the solution and re-test it until the surface remains
damage-free. Here’s our step-by- step guide for cleaning mold with hydrogen peroxide.
1. Using 3% hydrogen peroxide, mix 1 part with 2 parts of water; this essentially reduces
the strength to 1% which is apt for cleaning up mold.
2. Pour the solution into a spray bottle for easy application.
3. Dampen the mold-infected area with the solution and let it sit for at least 10 minutes. In
this time, the hydrogen peroxide will work to kill and eat away at the mold.
4. Wipe the area with a soft, dry cloth to remove mold residue.
5. Dampen a clean cloth using the hydrogen peroxide solution and wipe over the surface
again for a deep cleanse; leave it to air dry or blot dry with a clean towel.
Depending on the severity of your mold infestation, any one of the above cleaning methods will
help you get rid of it safely and effectively without causing yourself, or the environment, any
harm!
